 |
| Yo-yo madness! |
...for getting me this deeelicious fudge brownie cheesecake!

Thank you also to my great friends who made the day so fun and special!
But now it's time to move on. My little brother's birthday is coming up soon, and although I already promised to buy him a watch (because he's obsessed with knowing what time it is when we drag him out shopping), I wanted to get him a little something else.
He's been needing a new backpack to keep his stuff in for Chinese school and AWANA. I had a bit of extra time this week between studying for tests, so I whipped something up really quickly. And I mean quickly! This backpack took only two hours, and I don't know about you, but I am a sloooow worker. Here we go!
 |
| Sweetness... |
Now if you're interested, I have a tutorial here, and I went a bit picture happy. Click on "Read more" to see it!
You will need:
-Bedsheet or other large piece of fabric
-about 4 yards or some kind of cord
-Scissors
-Pins
-Sewing machine
-Applique (optional)
Note: for this particular way of making a bag, I would suggest using a thinner fabric, like your basic quilting cotton. The seams will all be sturdy, and at one point your machine will be sewing through 8 layers of fabric!
1) Cut a piece of fabric 34 cm (13 3/8") by 168 cm (66 1/8") (I arbitrarily decided to use cm instead of inches; no idea why). Add on your preferred seam allowances on each side. I did this by folding my fabric in half and tracing out a rectangle 34 cm by 84 cm, with one of the short sides on the fold. I forgot to take a picture of the rectangle, but here's a picture of the ginormous hole it left!
 |
| Huuuuge |
2) Along the long sides, fold down your seam allowance and pin (or iron) in place. Make sure the cut edge is on the wrong side of your fabric.

3) Fold your fabric in half longways, right sides together, and sew the two free short ends together. You'll end up with a very large loop.
 |
| You can just barely see the seam here |
4) Turn your loop inside out (now the unhemmed edges should be inside the loop). Refold this loop so the seam you just sewed is in the middle.
 |
| What it looks like after "refolding." For the next step, fold the left side to the right side. |
5) Fold in half longways. I like to have the first seam inside the fold, because that means it will show on the outside of the finished product, which I think looks cleaner. But that's your call. Sew along the edges with a zigzag stitch, as shown below. IMPORTANT: Leave part of the bottom and top of the seam UNsewn. Leave enough space to pass two of your cords through; for me, that was about 3/4 of an inch. The top will be the channel for the drawsting, the bottom will be where the ends of the drawstrings are anchored. Turn the bag right side out.
 |
| Folded... |
 |
| ...and sewn down! |
6) Pass your cords through the channel like so: into the left, out from the right. Into the other right channel, out the other left channel. Do the opposite for the second cord. Pass the ends of the cords through the small open spot in the corner and knot them into place inside the bag.
 |
| See how it forms a loop at one side? |
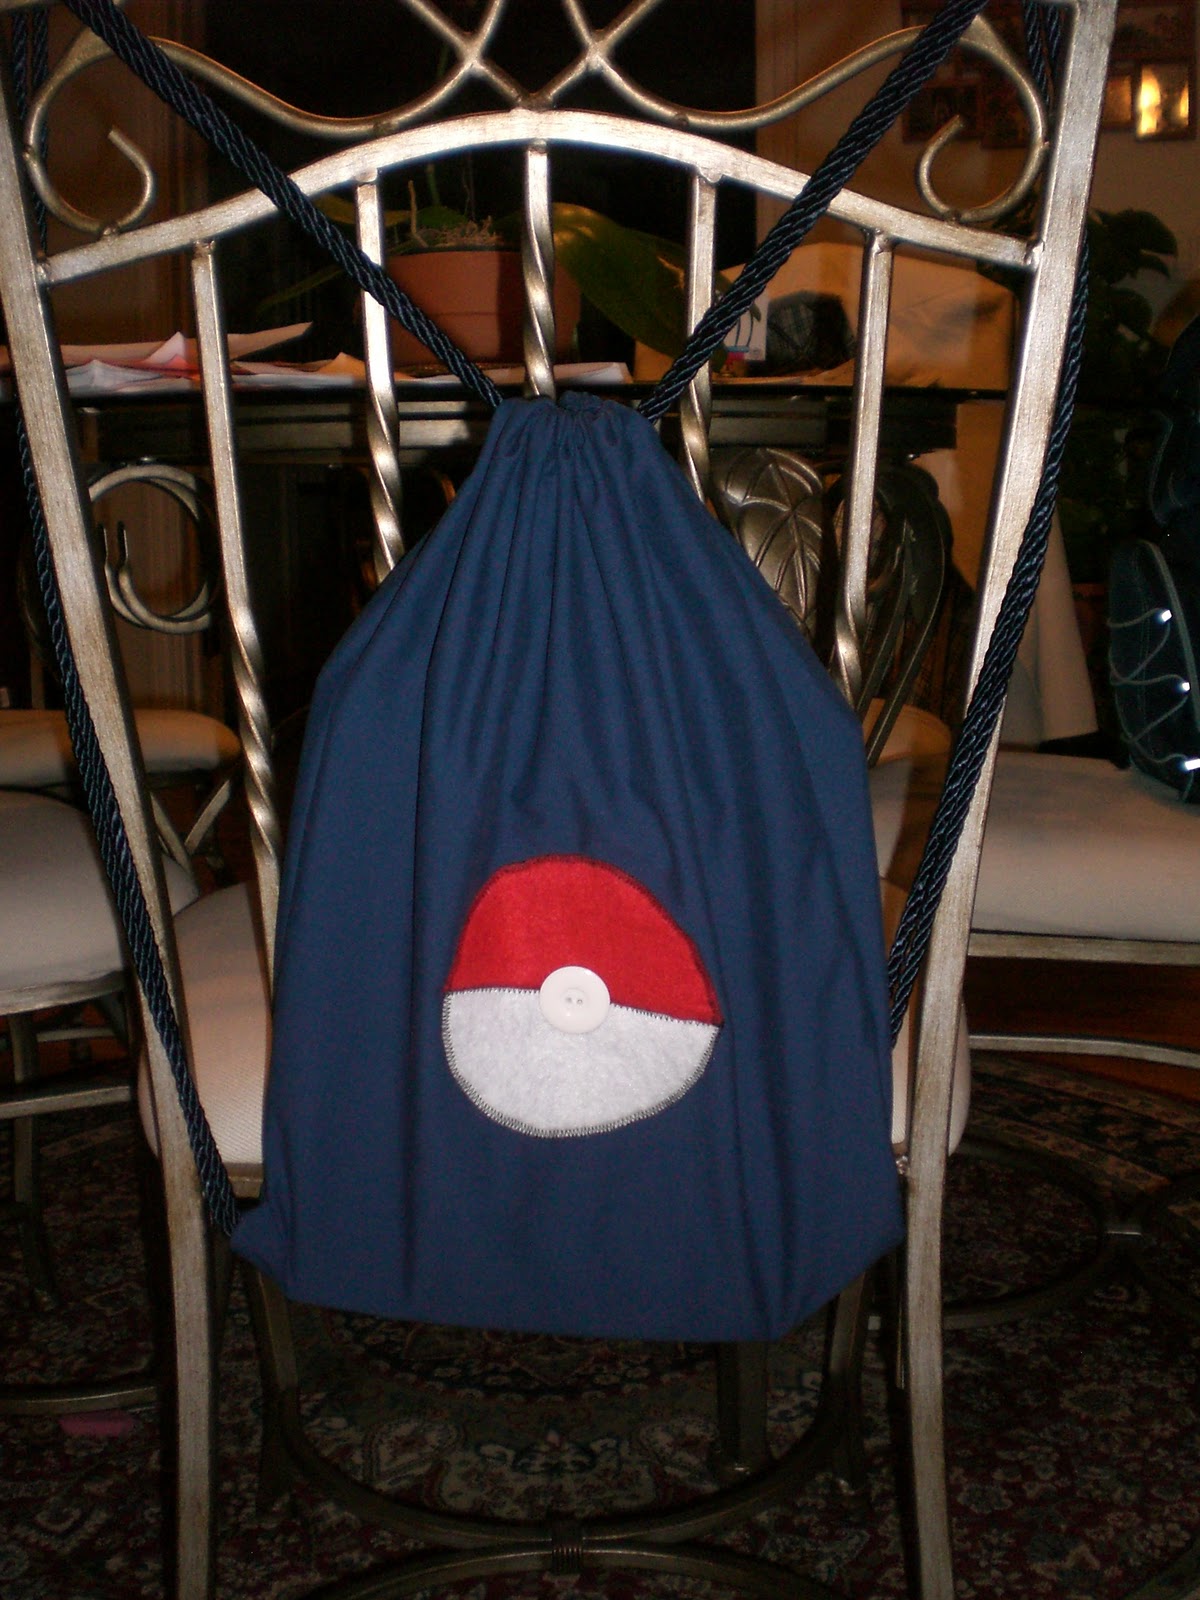
7) I chose to add a Pokeball applique. I used a CD to trace a semicircle on red and white felt, sewed down the edges with a zigzag stitch in black, and used a white button for the Pokeball button. And I was done!

Hope you enjoyed! Please let me know if you choose to try this technique!
Until next time!
-Annie
Edit: I thought you all would like to know how the present was received. Here's our action shot:

I think he liked it.
Shared at:

I loooooove drawstring backpacks and this one is adorable! So handy! Well done. Glad it was a hit with little brother.
ReplyDelete