
This is Day 16 of my 30 Days of Commitment series. Check out the other posts in this series, too!
Gosh, I'm sorry, guys. This has been another hectic week for me, and I ended up letting this series slide yet again! But then again, this is sort of what the purpose of this whole series was right?
Well, I just go on thinking like that so I don't feel as guilty. ^_~
What I'm sharing with you today is a pretty old project that I never got around to posting. This bag:


A long time ago, I was flipping through a crocheting magazine and was intrigued by a photo of a cross-body purse made using the basketweave stitch. I found this stitch in my book of many crochet stitches, but it's easy to find. A quick Google search brought me to this tutorial, which looks pretty much like what I did.

This was a pretty easy bag to make. I crocheted two panels of basketweave for the front and back, then crocheted one long strip of single crochet to make the strap. I simply single crocheted along the edges to connect them.

A little too late, I discovered an interesting flaw in this design: a crocheted strap will streeeeetch. And mine was already bordering on too long. So after some pondering, I happened upon this solution. Use ribbon!

Basically, I found some ribbon in a coordinating color to stabilize it. The ribbon I found wasn't nearly wide enough, so that line you see going down the middle is where I zigzag-stitched two ribbons together. Once this was done, I simply lined up this ribbon strip along the crocheted strap and sewed down each edge. Voila, problem solved!
I chose this gorgeous fabric for the lining. The method for making it was similar: cut out two large rectangles for the front and back and then a long, continuous strip for the sides and bottom.


I did, however, add a couple things to the lining. I added three pockets, two cell phone sized and one larger.

I also added a key fob, because I hate having to fish through a big bag for my keys.

There's also a closure strap that can button at two different buttons, depending on how full the bag is.


And to attach alllll of this to the crocheted portion, I slid in the lining, sandwiched the button strap and the key fob between the two layers, and sewed it all together.
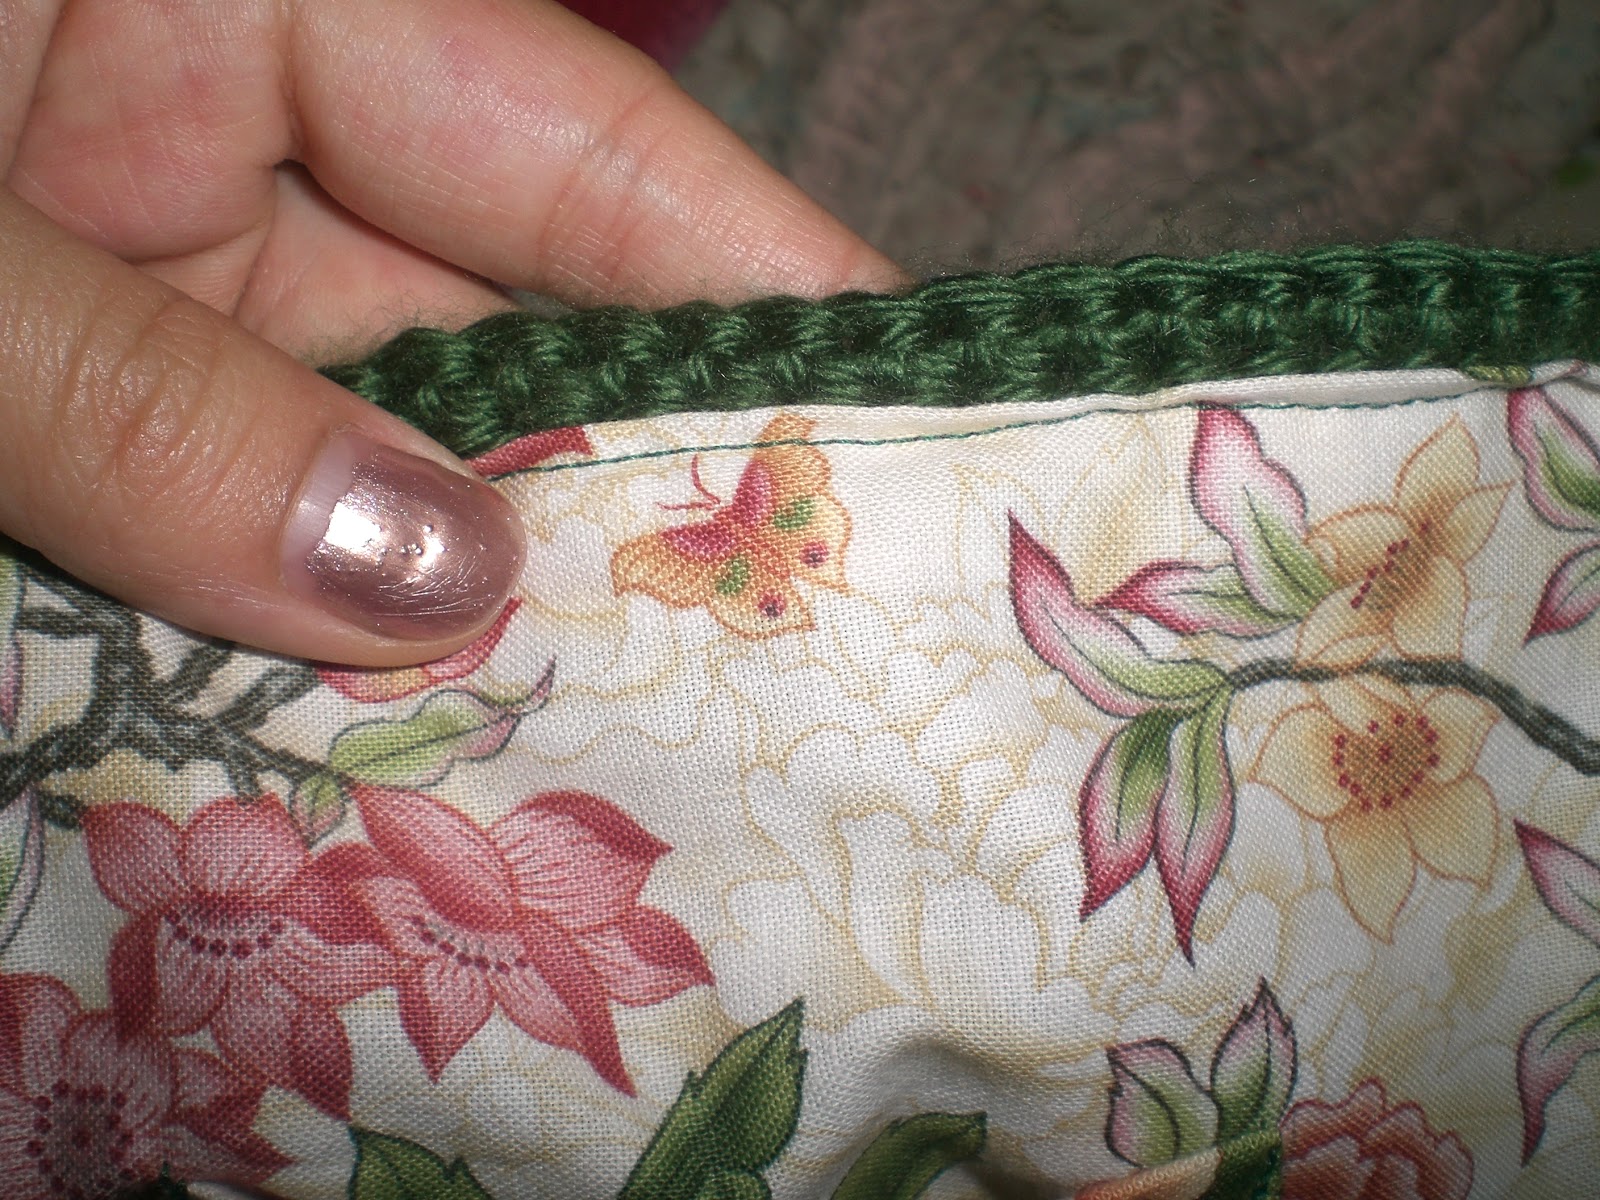
Instead of doing the usual thing with lined bags where you flip everything inside out, etc, etc, I simply folded down the edges of the lining and basically topstitched around the edge. Worked out pretty well. :)

So what do you think? I'm pretty proud of this bag. It makes a nice, casual alternative to those days when I'm just not feeling the backpack (my laptop fits in there nicely).

I hope you enjoyed this post, and I hope you found it inspiring! I enjoy those times when I see something and am able to recreate it myself without relying on patterns. :)
-Annie
Shared at:

Shared at:

Thanks for the tip on lining the strap; it will come in useful soon.
ReplyDeleteRenee :)